Showing posts with label do it yourself. Show all posts

DIY + GOLD LEAF BOOKENDS

April 15, 2013


recently the fireman & i were given these awesome Agate Bookends that sat in his grandparents home for years... since the 70's, i'm guessing. so to make them fit into our home and hopefully sit on our bookshelf for the next 40 years, i needed to make this fabulous bookend more, us! so gold leaf it was!! as i posted here, i have a new found love for liquid leaf. it is basically the paint version of the gold leaf sheets we all know and love. but this paint is so much easier to use. so here is the newest addition to our home...

**PS: i think this, this, or this has to be my next gold leaf project.
 you will need:
sponge brush
Agate Bookends
zip lock bag (to line/protect your plate)
painters tape (i didn't tape off the colorful part of Agate rock, but you may want to)
 *sponge on pant in a gentle & even way
*let dry & voila!


total project cost... $6! 
not too shabby.


DIY + Gold Leaf Polka Dot Pot

April 08, 2013


what s better then gold polka dots????? i know! gold leaf polka dots on a pot filled with my favorite plant of all time, succulents. so i picked up this cool slate grey pot (from my local Joann's...great grey, huh?) and some gorgeous gold leaf... then went to town. it was actually the first time i ever used Liquid Leaf and i have to say it is SO much easier then actual gold leaf sheets. two major thumbs up. in fact once i began gold leafing, i couldn't stop. so check in early next week for more gold leafed goodies! anyway, without further adue... here is my polka dot pot. 

**remember this gold polka dot vase??? 
i bet we could make that too... you think?

you'll need:
round sponge brush (i used the smaller sponge)
Liquid Leaf
ceramtic pot
succulent plant

* lay down a zip-lock baggie to protect your plate surface
 * start dotting!
 * let dry & voila!
probably the easiest DIY ever!
i hope you add some gold leaf polka dots to your home too.


FLOWERS at HOME.

February 04, 2013

arrangement via
*check out the DIY

happy monday. how was your weekend?? lately i've been pretty good at keeping fresh flowers around our home. so i am always trying to come up with new creative ways to take an inexpensive bouquet of flowers (usually from my farmers market) and arrange them to look like a million bucks. i typically arrange my flowers in a cluster of vintage bottles, jars, or even my vintage silver (ice cream) dishes, see here! so over the weekend i browsed around the World Wide Web to find a little inspiration and found a few simple but gorgeous arrangements i'd like to try at home.

**learn how to make a Valentine's Day Flower arrangement here!


pink + white arrangement via
*check out the DIY
tea cup arrangement via
the LOVE cups via
*check out the DIY
succulents in silver dishes via
creative spring arrangement via
*check out the DIY
clear bottles via
jade tea cup via
*check out the DIY


DIY + PUMPKINS!

November 02, 2012

photo's + DIY by the fashion gal

happy friday friends! i know i promised more wedding photo's this week... but, but ,but i don't have all my pics together, yet! i'm sorry!!! forgive me and tune in next week. i really hope to have a few more fab photo's for you then. sooooooooooooooo to make it up to you, i have a fun little DIY! now let's parlay those pumpkins from halloween into thanksgiving... all with a little metallic spray paint! if you're like me and like having holiday decorations up throughout the season (ie. thanksgiving... it's right around the corner, can you believe it!?!?)... but who really wants to spend a ton of dough on these fab decorations!? so here is a DIY for under $10!! 

**check out more DIY's here.
you'll need:
-  metallic spray paint (rose gold & yellow gold)
- your halloween pumpkins
spray one side, let dry, then flip and spray the other! (it's the easiest DIY, ever!)

mix a few Cinderella pumpkins & mini pumpkins with your new shiny guys.
i decorated our front table a little too.

before                                                  after


not too shabby right?! and for under 10 bucks!!
have a great weekend!


a succulent GARDEN!

May 14, 2012

/ / / photo's & DIY by the fashion gal / / /

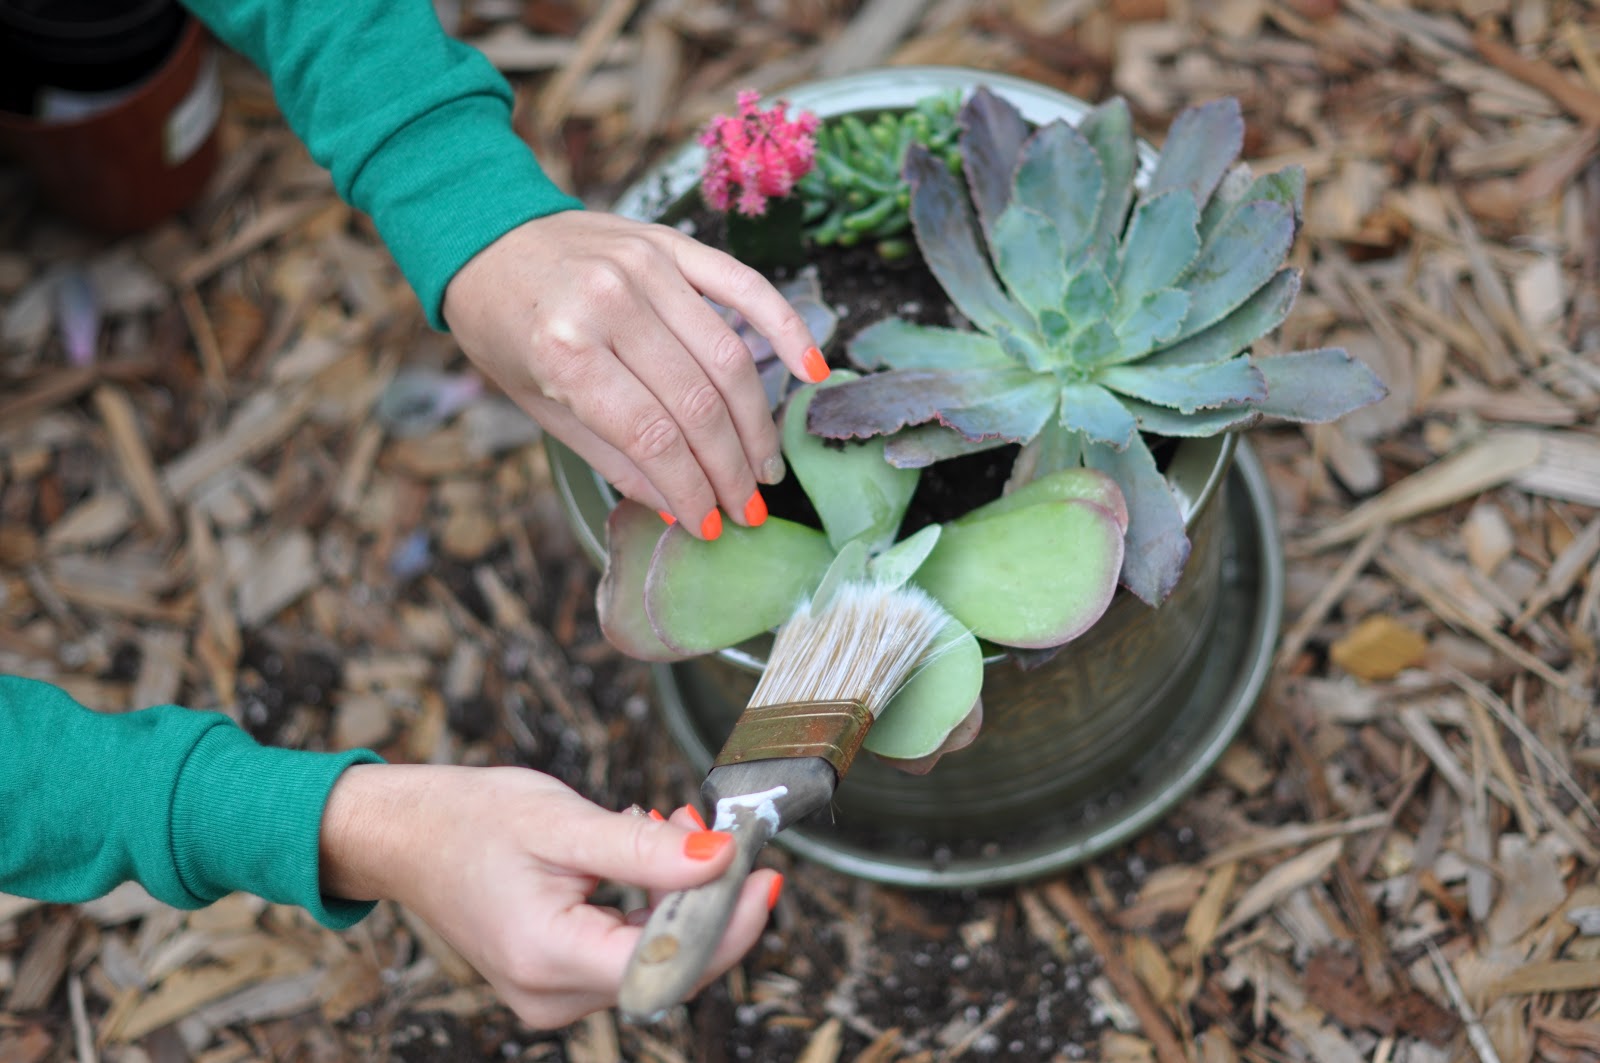
hello monday. wow, what a weekend! any Motha's out there?? how was your big day!? well the fireman, the frenchie {Charlie}, and i were on the go all weekend long. from parties to Mother's Day we squeezed in everything that was on our fun fulfilled to-do list... like make this killer ((mini)) succulent garden! it was definitely a team-effort because this was a gift for the fireman's {amazing} mom... so of course he had to help... right!?! right! here is our little rendition of a succulent garden... and the step-by-step!

**this {mini} garden would make a perfect House-Warming gift too!
 let's get started. . .
pour your ah-mazing cactus soil in. ((this stuff is crucial... you can get it at Home Depot, OSH, ect.)) 
cut your plastic pot down the side and remove your first succulent.
  loosely separate the plants roots & soil... then dig a small hole and plant your first (& largest) succulent!
 gently pat down your soil surrounding your first plant. now let's make a plan... then repeat!
 ok, here's the plan... lay out all your succulents and arrange them the way you think your mini garden will look best. we squeezed in 1 slightly larger succulent, 2 small/mediums, and 3 little mini's!
now REPEAT. ((continue planting one succulent at a time... and remember to enjoy the process!))
 {this is where i jumped in!} with your paint brush, lightly brush off the extra solid from your succulent leaves & pot.
and voila!

how was your weekend!?

ps: A Fashion Gal & A Fireman are almost at 500 ((yes, five hundred!)) "likes" on Facebook
click here... and help us get there? xo's!

DIY, TO-DO LIST.

May 02, 2012

Neon Tassel Necklace via A Pair & A Spare

one of my favorite things about geeking-out on other bloggers sites is seeing what they are making and getting inspired by their killer DIY's! the projects i've been LOVING lately all seem to revolve around bright colors or even a simple touch of NEON! here are a few DIY's {"do it yourself"} project that are on my ((long list)) of must-do projects!


**if you'd like to check out some of my DIY archives... go here!
Macrame Bracelet's via Honestly WTF
Paper Calla Lilies via Oh Happy Day!
Colorful Homemade Stationary via Cupcakes and Cashmere
Neon Wrapped Twigs via Emma Dime
Spray Painted vase via Refinery 29
Color Blocked Rope Basket via Design Sponge


 which DIY is now on YOUR LIST!?!?

DIY + chalkboard bottles

April 16, 2012

/ / / / / / / photo + DIY by the fashion gal / / / / / / /

over the weekend my lovely mother & i hosted a bridal shower for one of my uber-fabulous-girlfriends! we planned a menu full of mexican appetizer's & greek entree's (the brides fave), filled the tables with an assortment of garden flowers n' candles, and gave these chalkboard painted bottles as the guests party favor! now once i heard of chalkboard paint i had 1,000 ideas pop into my head of things i could paint... and these sleek glass bottles were one of them! here is where i bought my bottles & my paint was from good ole Home Depot. now i only have 999 more things to paint with my new {& fabulous} chalkboard paint!

**check out more DIY ((do it yourselves)) here

you'll also need... olive oil, rosemary, raffia ribbon, & chalk!
let's start taping...
take time for this step... taping each bottle can be tedious... but the outcome is worth it! 
paint your first coat horizontal & the second coat vertically... see your paint can for more instruction.
and voila! not such a bad bridal shower gift, right!? 

all the gals seemed pretty happy with their new chalkboard-olive-oil!
... and all the bride's family got to each take home one of these pretty jars full of flowers! 


how was your weekend?
(( ps: happy tax day. ))

Related Posts Plugin for WordPress, Blogger...